facebook-debugger-social-url-tool

How to Fix a Social Share Image with Facebook Debugger Tool

Enjoying this article?
Share it on social media!
Contents

Introduction Facebook Debugger Tool

facebook-debugger-social-url-tool

Here is how you can use the Facebook Debugger Tool. When you share a link on Facebook, it automatically fetches the title, description, and a thumbnail image to display. Sometimes, the image might not appear as expected, affecting click-through rates and engagement. Fortunately, Facebook offers a Sharing Debugger tool to diagnose and fix such issues.

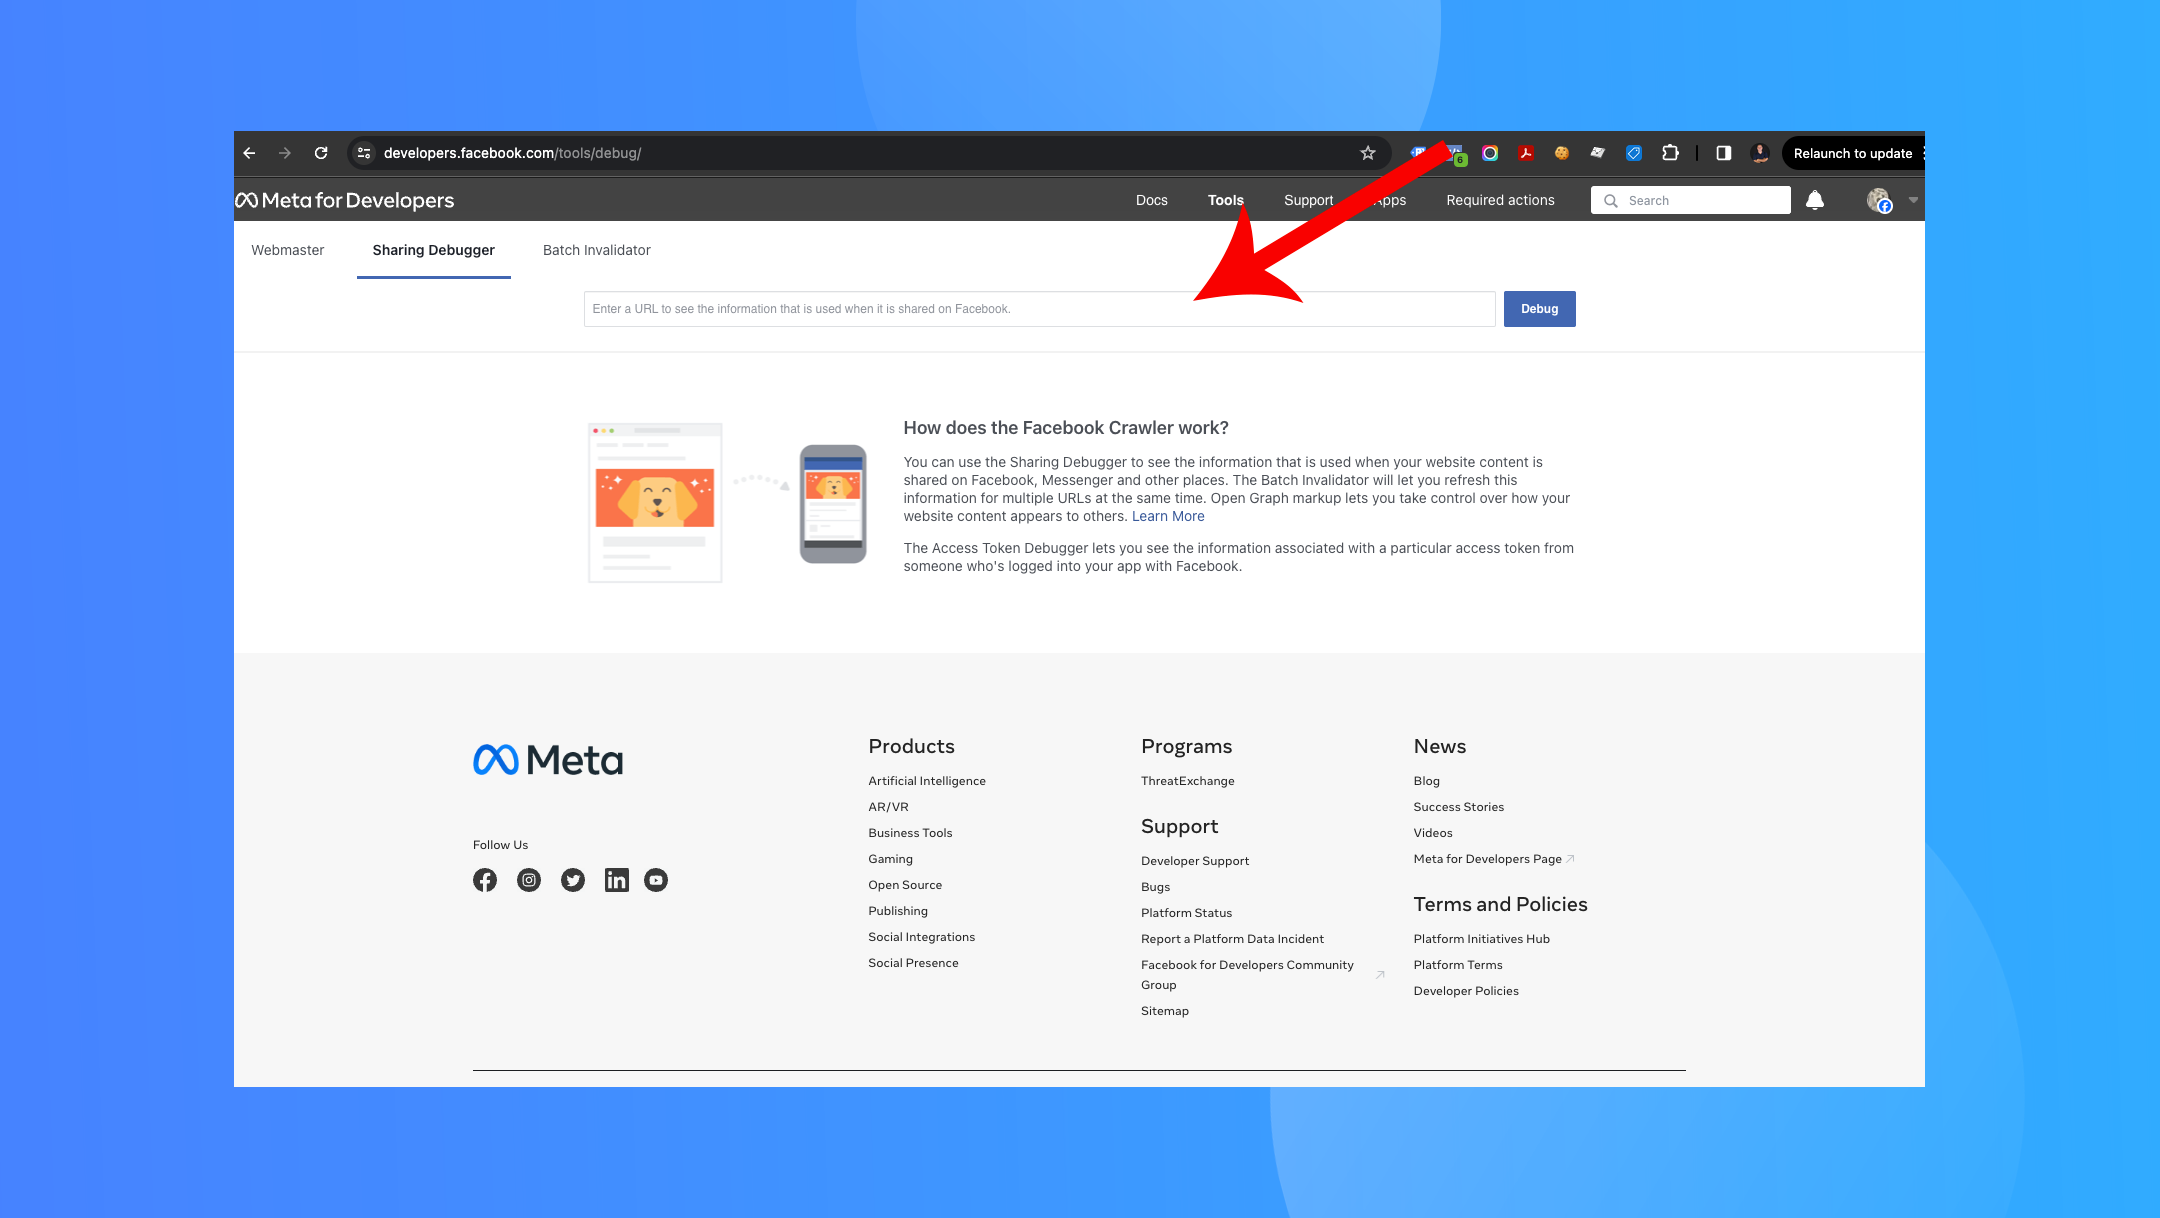
Step 1: Access the Facebook Sharing Debugger Tool

  • Go to the Facebook Sharing Debugger Tool. You'll need to be logged into a Facebook account.
  • This tool is designed for developers but is straightforward enough for anyone.

facebook-scapper-image-debugger

Step 2: Enter Your URL

  • In the tool, you'll find a text box where you can enter the URL of the webpage you're having issues with. Paste your URL into this box.
  • Click the "Debug" button to let Facebook analyze the link.

facebook-debugger-show-image

Step 3: Review the Output

  • After a few seconds, the tool will display a report for your provided URL.
  • Look for warnings or issues in categories such as "Warnings That Should Be Fixed" or "Properties."

Step 4: Understanding the Problem

  • Common issues with social share images can include the wrong image size, no image specified in the web page's metadata, or caching problems.
  • The Debugger will specifically point out if the og:image property (Open Graph Image) is missing or incorrect.

Step 5: Fixing the Image Issue

  • To resolve the image issue, ensure your webpage has the correct Open Graph (OG) meta tags, particularly og:image.
  • The og:image tag should point to the correct image URL you want Facebook to use when sharing the page.
  • Facebook recommends using images at least 1200 x 630 pixels for the best display on high-resolution devices.
facebook-debugger-social-url-tool-change-image

#image_title

Step 6: Clearing the Cache

  • Once you've made changes to your webpage, use the Sharing Debugger again to re-scrape the URL.
  • Click the "Scrape Again" button. This action tells Facebook to clear its cache and fetch the latest content from your webpage, including the updated social share image.

Conclusion

Using the Facebook Sharing Debugger is a simple yet effective way to ensure your content looks its best when shared on Facebook. By following the steps outlined above, you can quickly diagnose and fix issues related to social share images, enhancing the visibility and appeal of your links on the platform.

Remember, social media platforms frequently update their algorithms and tools, so staying informed about the latest best practices for sharing content on Facebook is a good idea.

Enjoyed this article?
Share it on social media!

Leave a Reply

Check out another blog post!

Back to all Blog posts

Let’s work together!

© 2024 Bright Vessel. All rights reserved.
crossmenuchevron-downarrow-leftarrow-right